The sleeve press has not been missed by this writer, nor by most plant owners and managers. For many that have been in this business for less than ten years, they know of no other way. In fact, they may not be completely sure what a “sleeve press” is, exactly. For the uninitiated, for around 50 years, the first step in the shirt pressing process was placing the shirt onto a sleeve press. The machine was basically two arms that stood up out of a table that was at kneecap height. When actuated, the two arms would move into a cabinet and be squeezed between the steam chests, thereby drying, and pressing the fabric. This worked equally well for short sleeves.
On paper, the sleever was perfect in every way. In practice, it is a disaster and still is to this day. As simple as a sleeve seems, in reality, they come in all shapes and sizes and a sleever has never been able to adapt and is, as a direct result, the one machine that causes more touch-up than any other. Think about all the errant wrinkles that are caused by the sleever and must be removed by an iron.
Enter the blown-sleeve shirt unit. I was not an early adopter. But at this point in time, there really is no other way. The hard-pressed sleeve has no advantage over the blown sleeve. Couple that with the risks that you take with a hard-pressed sleeve. They are notorious button smashers and there is always the risk that those errant wrinkles get missed and end up in your customers’ closets.
But…
And it’s a big but. I have never been happy with the short-sleeve attachments on the blown-sleeve units. I’m guessing that you (or your pressers) are not completely happy with it either based on how many pressers I have seen ignoring the short-sleeve device (I’ll call them SSD’s ok?) entirely. Depending on the brand of your machine, your SSD has its own issue. Some leave an imprint, some leave an unpressed area. At least a couple of SSDs stretch the fabric in such a way that deforms the sleeve. And they don’t work all that well. Sometimes the sleeve breaks loose from the contraption and the sleeve just flaps in the wind. Nine times out of ten – maybe more often – the pressers ignore the short sleeve equipment, and the touch-up staff take care of those types of sleeves.
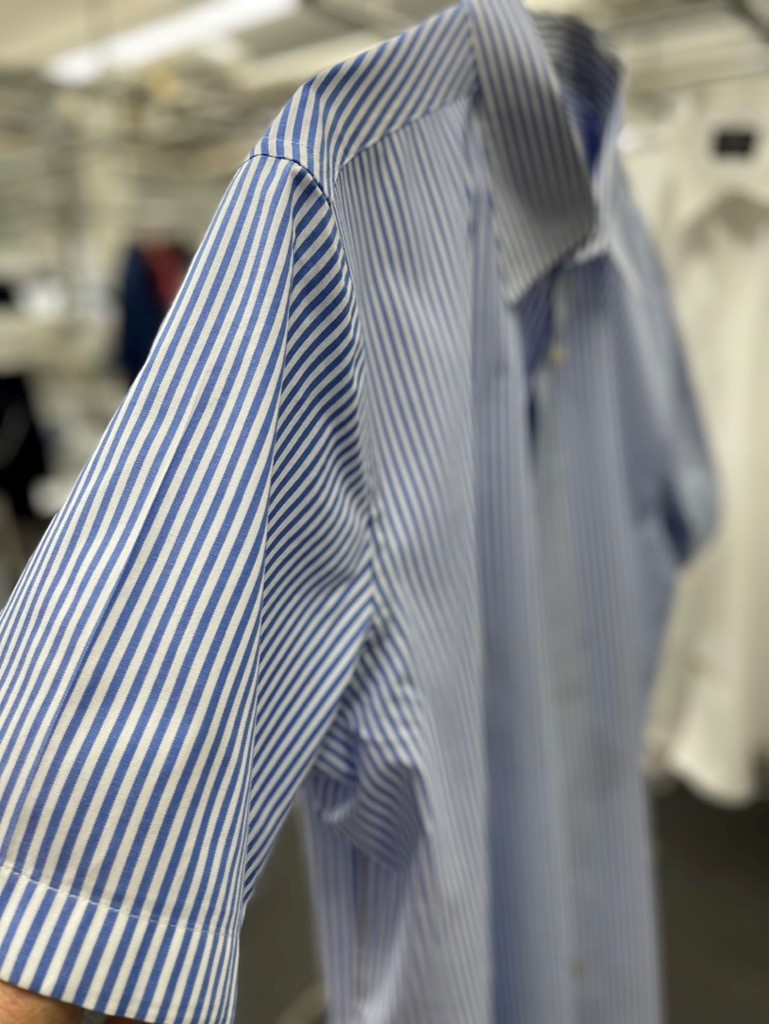
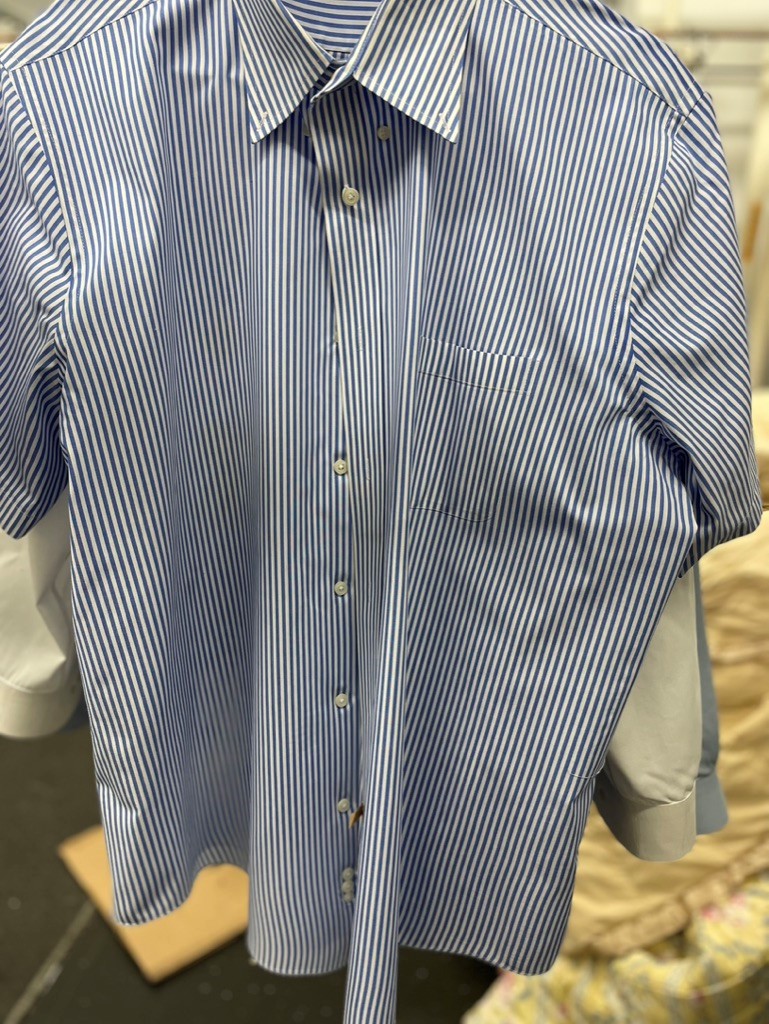
The old sleeve press did not crease the sleeve. It also did not deform the sleeve. I will show you how to press short sleeves on any shirt press, without deforming the sleeve and without creasing the sleeve. If you have a customer base that expects a creased sleeve, you can do that with an iron on a touch-up board in about six or eight seconds.
The pictured shirt was pressed on a Unipress Hurricane, but what I’m showing will work on any unit, any brand. Follow the step-by-step photos:
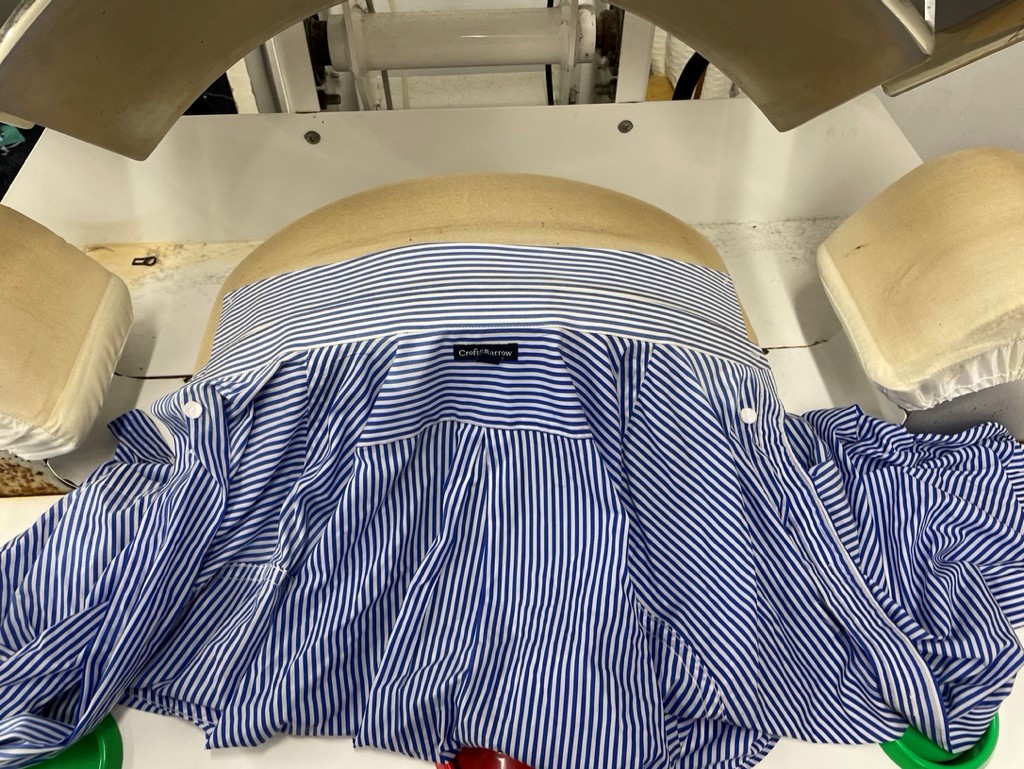
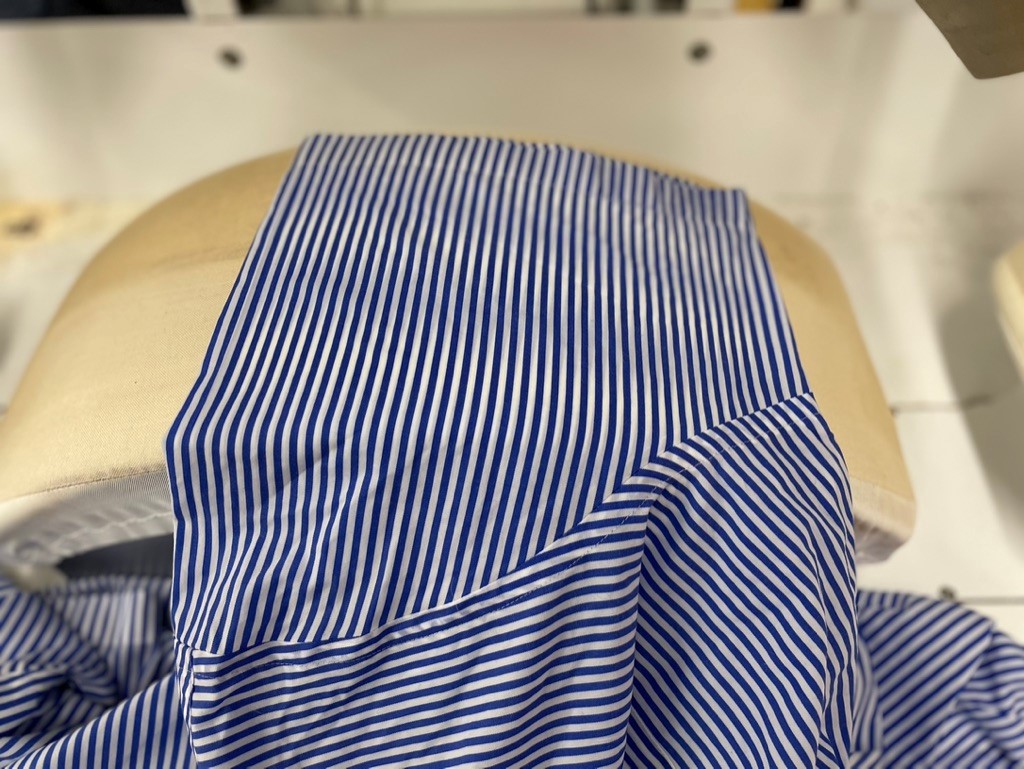
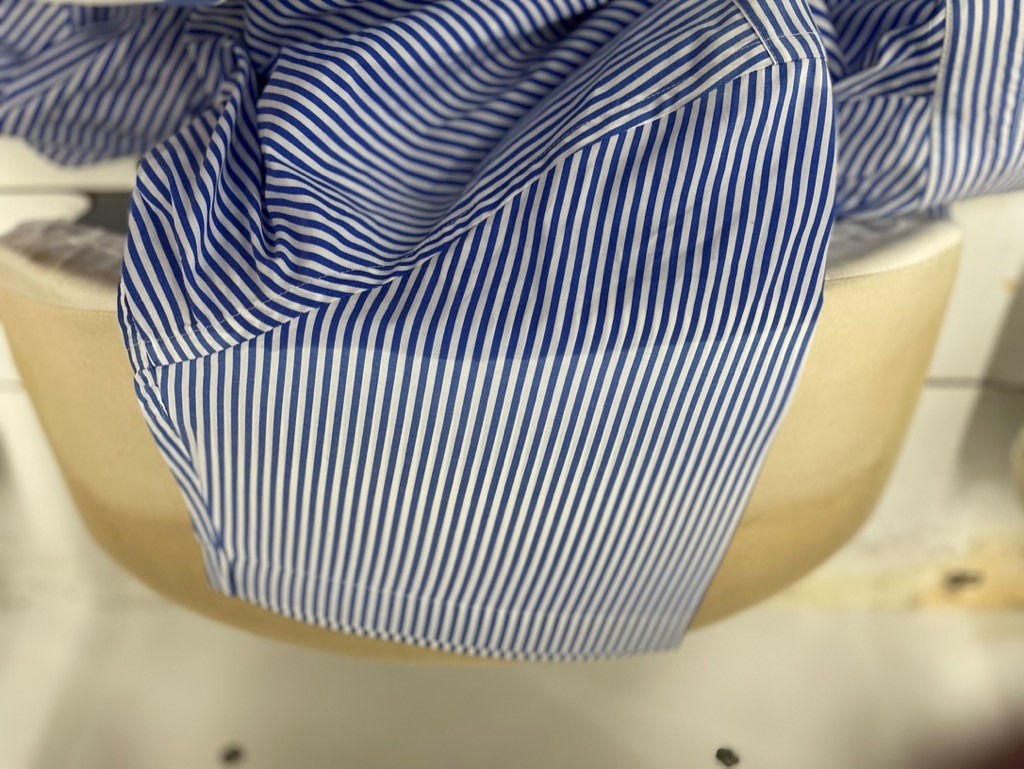
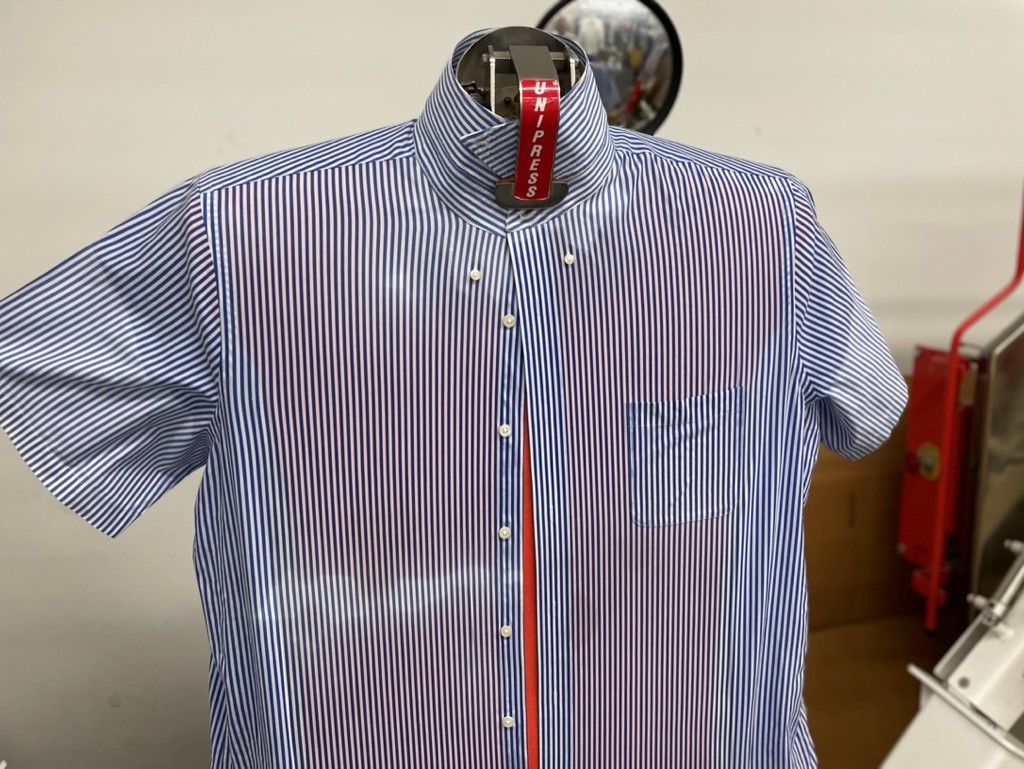
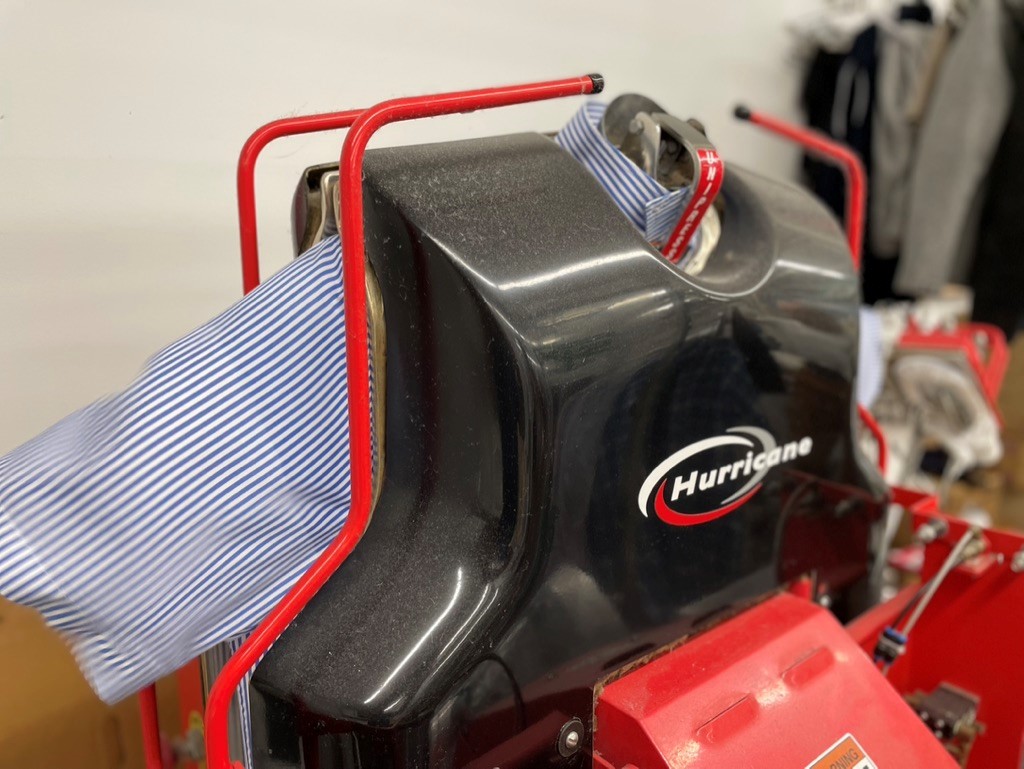
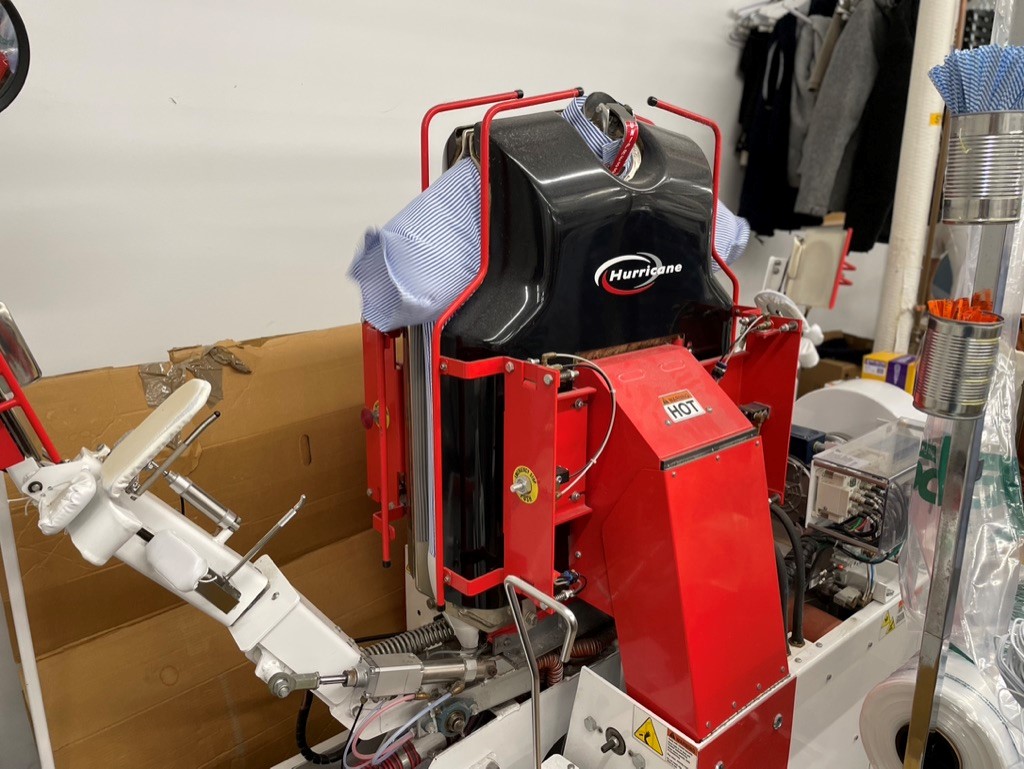
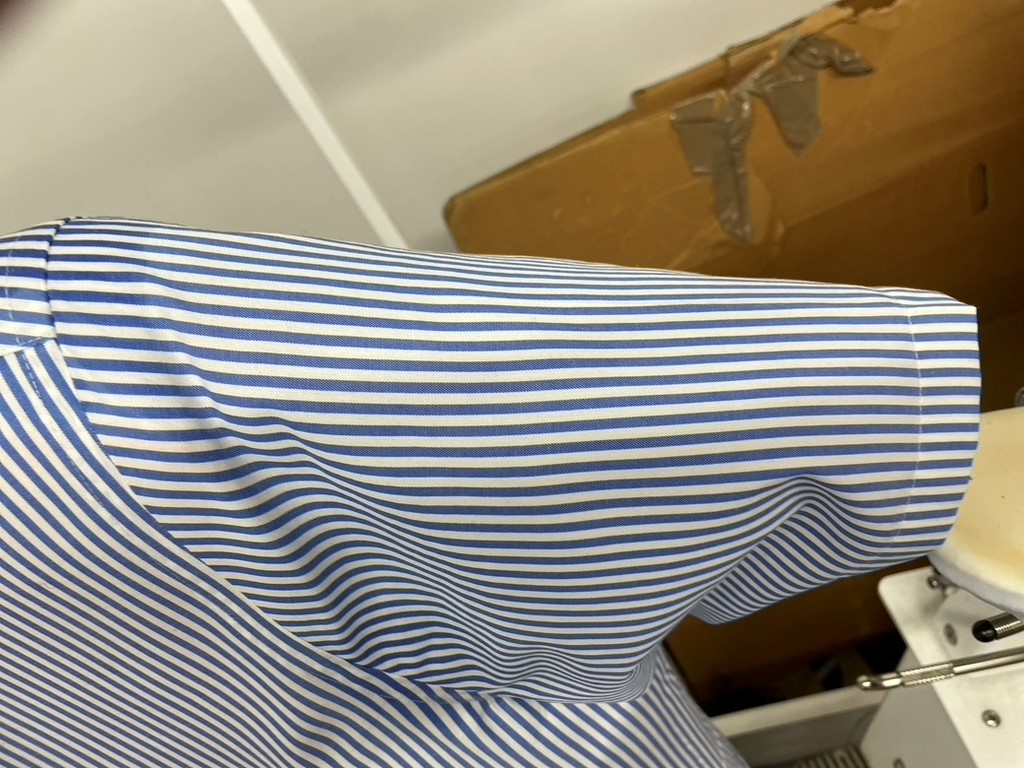
And best of all, your pressers will find that this method is easier than what they are doing now!

Donald Desrosiers
Don Desrosiers has been in the laundry and drycleaning industry for over 30 years. As a management consultant, work-flow systems engineer and efficiency expert, he has created the highly acclaimed Tailwind Shirt System, the Tailwind System for Drycleaning and Firestorm for Restoration. He owns and operates Tailwind Systems, a management consulting and work-flow engineering firm. Desrosiers is a monthly columnist for The National Clothesline, Korean Cleaners Monthly, The Golomb Group Newsletter and Australia's The National Drycleaner and Launderer. He is the 2001 winner of IFI's Commitment to Professionalism Award. He has a website at www.tailwindsystems.com and can be reached at tailwindsystems@charter.net or my telephone at 508.965.3163

