Over the years, it has been fun to bring together some photos of pressing defects on shirts, showing them to you, and explaining why they happen and how to prevent them in your plant. It can be a challenge to convey shirt pressing equipment operating techniques and corrective measures via this medium. The journey begins in my mind, slides down my arms and then travels to my fingertips, to this keyboard, through the barely comprehensible spider web called the internet. Then those instructions find their temporary home on the computers of my editors and proof-readers and are somehow converted to the precisely laid, microscopic blotches of ink that you are reading now. I pray that my instructions are ultimately as helpful as I hope them to be.

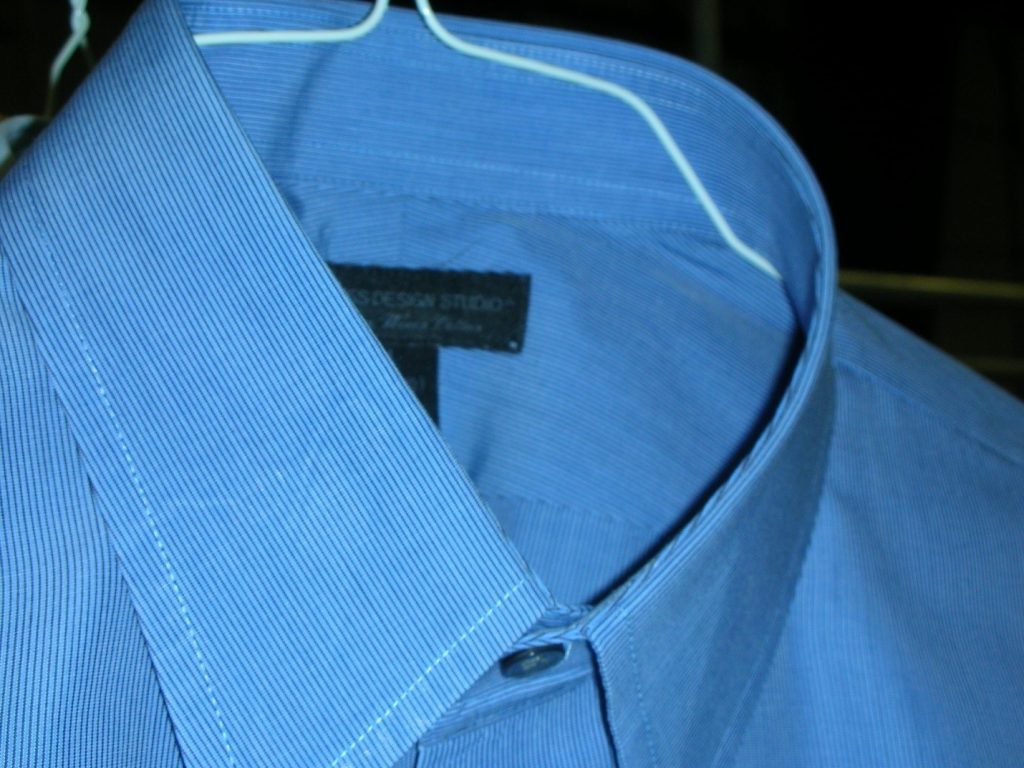
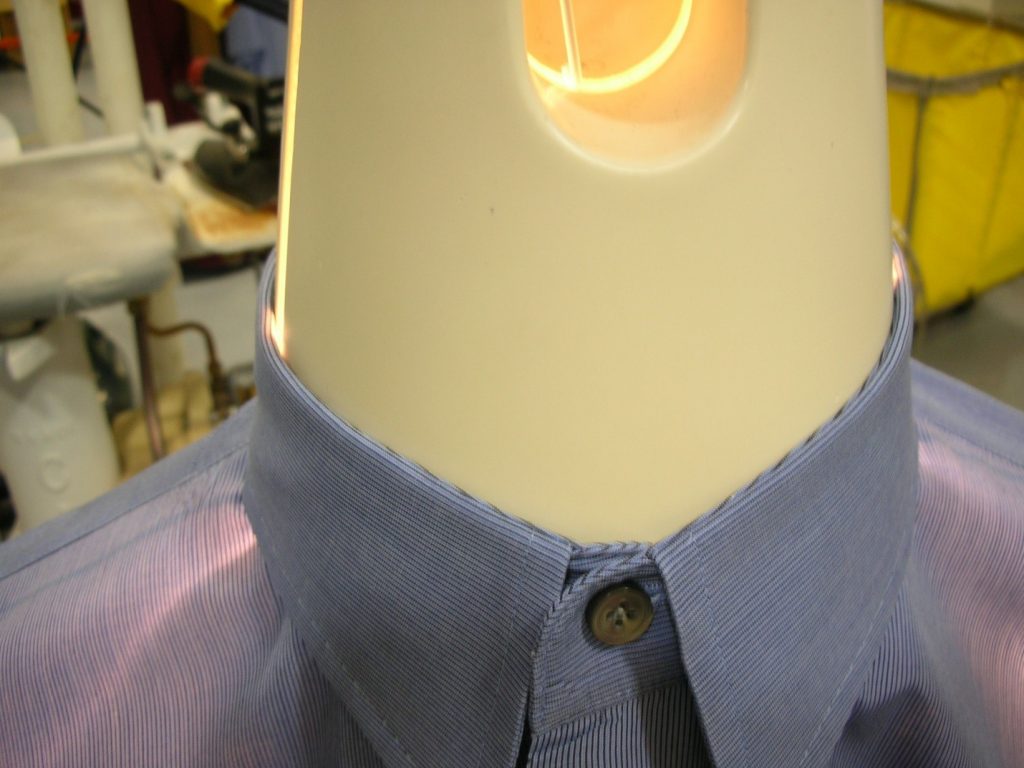
This month I thought that a twist on that theme was in order. I have photographed a good number of pressing defects, but I have also shot some great shirts. I have caught many pressers in the act of doing something right. So, I thought that I’d show you some great shirts and show you why they look so good! Take a look at the shirt in Photo 1. This shirt looks great! Notice how round and perfect the collar is! This requires at least two things: a completely dry collar and proper use of a collar cone. To get a dry collar, you need some key components. For that matter you need a similar recipe to dry any part of the shirt. I learned a long time ago that in order to get a truly great looking shirt, it needs to be 100% dry. This is not the same thing as “pretty dry” or “just about dry”. It isn’t easy to accomplish this, but if you want a great looking shirt, it is going to start with this. You will find yourself replacing pads and covers more often than you used to, but that is a very small price to pay. You will probably pay more attention to moisture retention than you have in the past. You won’t be able to defer maintenance on your washing machine or your pressing equipment. Before this shirt was hangered, it spent at least 30 seconds on the heated collar cone as you can see in Photo 2. Notice that the collar is in direct, uniform contact with the cone. Notice, also, that the front of the collar doesn’t droop. This is no accident. This is the byproduct of a meticulous presser.


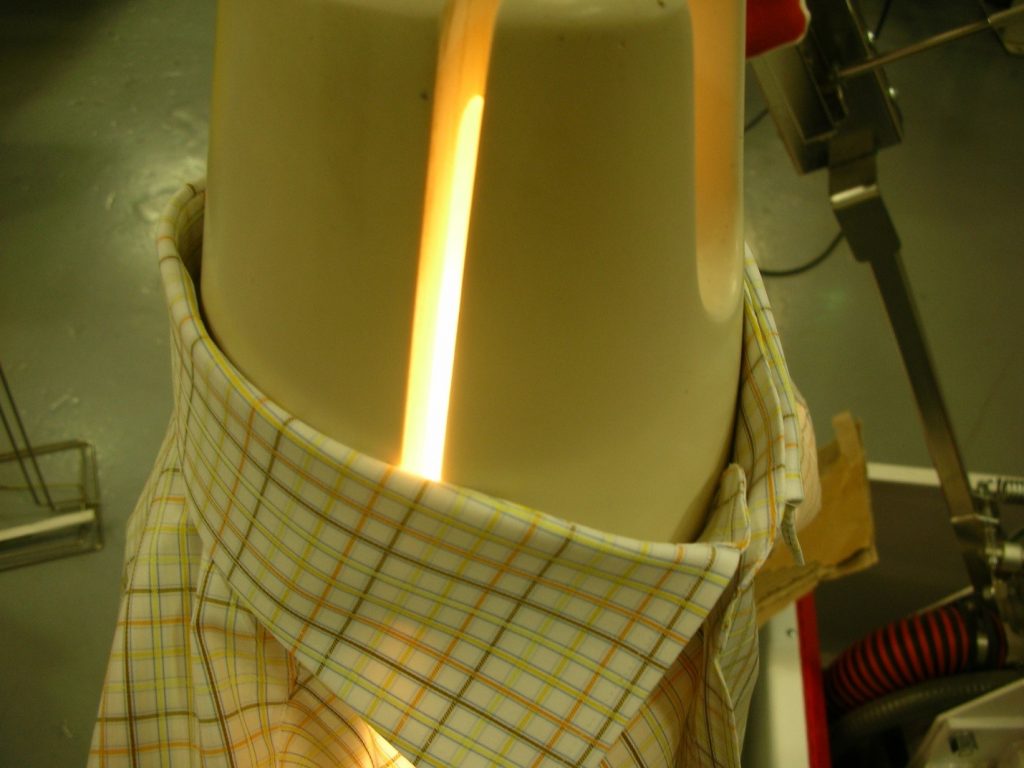
Now compare Photo 2 with Photo 3. The shirt in Photo 3 will not look as good as the one in Photo 2. But all that needed to be done with the shirt in Photo 3 was to lower the shirt so that it contacts the collar cone. It’s not that difficult!
The attention to detail is everything. After all, the pressing machine does a tremendous majority of the work. The presser’s job is to contribute the details.

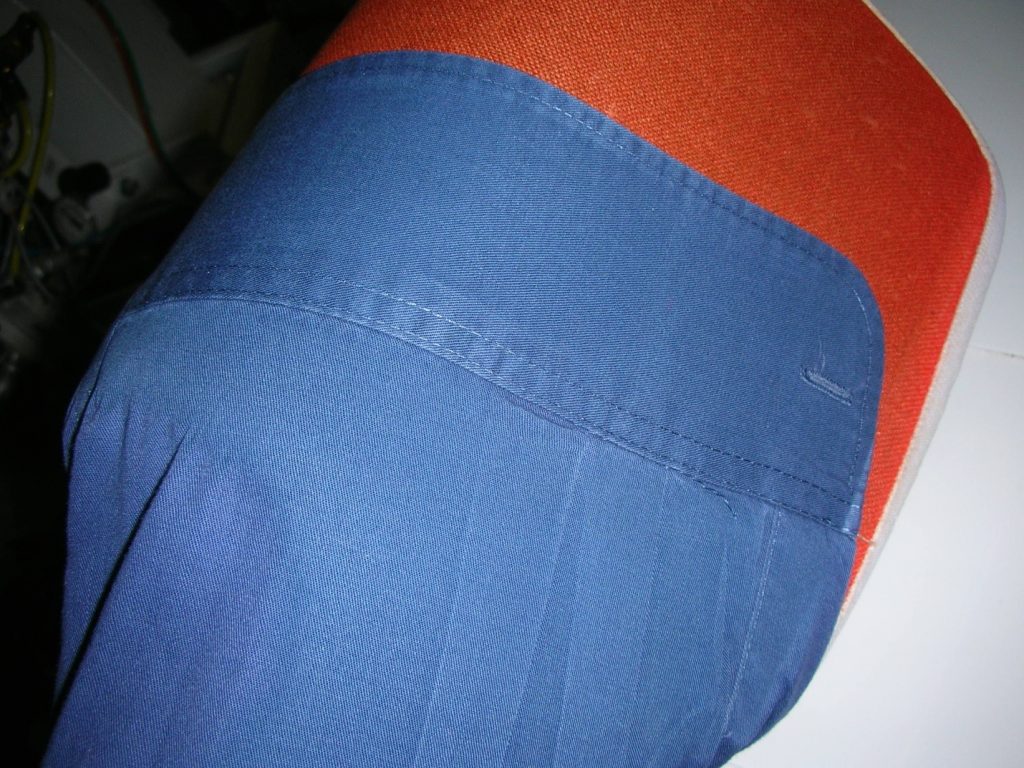
I wish that my drycleaner pressed the pleats on the sleeves of my shirts. It’s so easy to tell when the presser was careful and when the presser was careless. When you look at the press job pictured in Photo 4, it is clear that an extra second of time was spent and it is easy to see that this shirt will look great! The details; the extra attention, is really how you can make your good shirts great!
“If you do what you’ve always done, you’ll get what you always got!”

Donald Desrosiers
Don Desrosiers has been in the laundry and drycleaning industry for over 30 years. As a management consultant, work-flow systems engineer and efficiency expert, he has created the highly acclaimed Tailwind Shirt System, the Tailwind System for Drycleaning and Firestorm for Restoration. He owns and operates Tailwind Systems, a management consulting and work-flow engineering firm. Desrosiers is a monthly columnist for The National Clothesline, Korean Cleaners Monthly, The Golomb Group Newsletter and Australia's The National Drycleaner and Launderer. He is the 2001 winner of IFI's Commitment to Professionalism Award. He has a website at www.tailwindsystems.com and can be reached at tailwindsystems@charter.net or my telephone at 508.965.3163


