In my travels and during my interactions with plant owners and managers, there is one subject (at least) that I have never covered in this column. I’m not apologizing for that. It is a genuine challenge to teach someone how to improve their pressing skills by merely tapping keys on a laptop computer. However, with the help of photos and videos, I think that I can present a few tips that will make a significant difference. So, with the goal of teaching in mind, I got on my own shirt press and asked my customer service manager to play the role of cameraman and the following is what we came up with.
To best utilize this tool, I recommend that you watch the video (point your camera on the QR code and then click on the link that appears or paste this https://youtu.be/4xibqcmjpYc into your browser) and understand it thoroughly, using the text from this column along with it. It will be helpful if the trainer, be that you or your plant manager, not only understands what I am saying but is also completely capable of doing exactly what I am recommending. I am also including the text in Spanish to facilitate the communication issues that some of you may have to navigate.
The photos/video were taken at my plant on a Unipress Hurricane, but the tips are usable on virtually any shirt unit, so don’t dismiss the brand as something that isn’t applicable to you.
The first important tip is to put the shirt onto the body buck and be certain that it is perfectly centered on the buck. This isn’t difficult, but it’s importance cannot be overstated. Use the edges of the buck and the shoulder seams to gauge the shirt on the center of the buck. Eyeballing it will be remarkably accurate.
Las fotos / videos fueron tomadas en mi planta en un Unipress Hurricane, pero las puntas se pueden usar en prácticamente cualquier unidad de camisa, así que no descarte la marca como algo que no es aplicable a usted.
El primer consejo importante es poner la camisa en el buck del cuerpo y asegurarse de que esté perfectamente centrado en el buck. Esto no es difícil, pero su importancia no puede ser exagerada. Use los bordes del dólar y las costuras de los hombros para medir la camisa en el centro del dólar. Mirarlo será notablemente preciso.

With that done, the next step is the one that will be new to most pressers but will be the step that will make the most aggressive step towards improving your shirt quality and dramatically reducing your touch-ups.
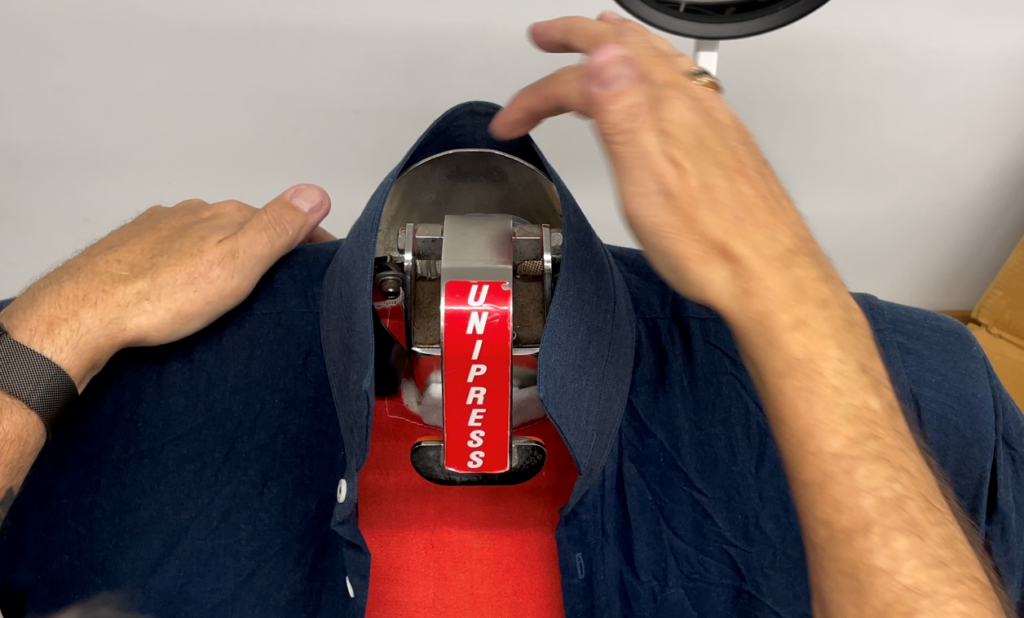
Put a hand on each shoulder and gently roll the shirt backwards, just a little bit. This will cause a space to appear between the top of the collar block and the collar. I call it a “rabbit hole”. I don’t know why I call it that, I just do. By the time you have finished dressing the buck, that space will not necessarily still be there. This is because of how the buck pulls and tugs on the yarns in the fabric. Don’t fret. Just make sure that it is there at this step and before you clamp the collar.
Con eso hecho, el siguiente paso es el que será nuevo para la mayoría de los prensadores, pero será el paso que dará el paso más agresivo para mejorar la calidad de su camisa y reducir drásticamente sus retoques. Pon una mano en cada hombro y enrolla suavemente la camisa hacia atrás, solo un poco. Esto hará que aparezca un espacio entre la parte superior del bloque del collar y el collar. Yo lo llamo una “madriguera de conejo”. No sé por qué lo llamo así, simplemente lo hago. Para cuando haya terminado de vestir el dinero, ese espacio no necesariamente seguirá allí. Esto se debe a la forma en que el dólar tira y tira de los hilos en la tela. No te preocupes. Solo asegúrese de que esté allí en este paso y antes de sujetar el collar.

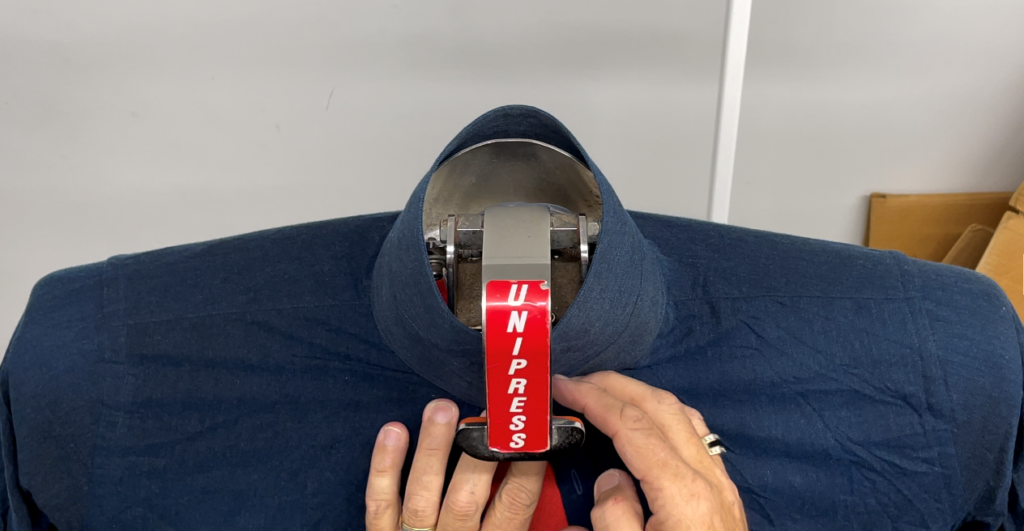
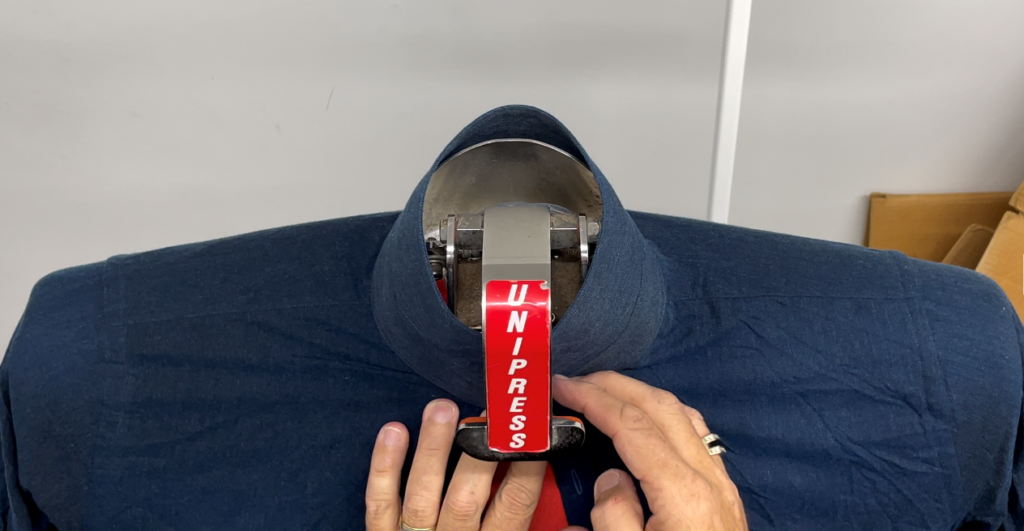
Now, the most-often incorrectly done step of all time. Improperly clamping the collar. For some reason that I will not even attempt to explain, many pressers feel compelled to pull the collar tightly together and clamp it there, no matter how badly the rest of the shirt has been distorted. I have scratched my head many times watching pressers do this. Plant owners and plant managers so often lament about “too much touch-up” or “100% touch-up” when the solution to the problem is right in front of them. Well, today, it is probably right in your hands. With the shirt perfectly centered, rabbit hole perched on top, bring together both leaves of the collar under the clamp. With the rabbit hole, you will be able to bring the collar up a bit higher than you are accustomed to doing. This is good and I will explain why momentarily. When bringing the collar halves together, sometimes the collar will overlap a bit, sometimes it will overlap a lot, sometimes they will not touch at all. It doesn’t matter. What does matter is that the shoulders that you have done so perfectly in the previous steps DO NOT MOVE AT ALL!. If they move, you have tried to pull on the collar too much. Pulling on the collar too much, forcing them to overlap when they should not, will cause horizontal wrinkles over the collarbone (at least)
importar cuán mal se haya distorsionado el resto de la camisa. Me he rascado la cabeza muchas veces viendo a los prensadores hacer esto. Los propietarios y gerentes de planta a menudo se lamentan de “demasiado retoque” o “100% de retoque” cuando la solución al problema está justo frente a ellos. Bueno, hoy, probablemente esté en tus manos. Con la camisa perfectamente centrada, la madriguera de conejo posada en la parte superior, junta ambas hojas del cuello debajo de la abrazadera. Con la madriguera del conejo, podrás subir el collar un poco más alto de lo que estás acostumbrado a hacer. Esto es bueno y explicaré por qué momentáneamente. Al juntar las mitades del cuello, a veces el collar se superpondrá un poco, a veces se superpondrá mucho, a veces no se tocarán en absoluto. No importa. Lo que sí importa es que los hombros que has hecho tan perfectamente en los pasos anteriores ¡NO SE MUEVAN EN ABSOLUTO!. Si se mueven, has tratado de tirar demasiado del cuello. Tirar demasiado del collar, forzándolos a superponerse cuando no deberían, causará arrugas horizontales sobre la clavícula (al menos)

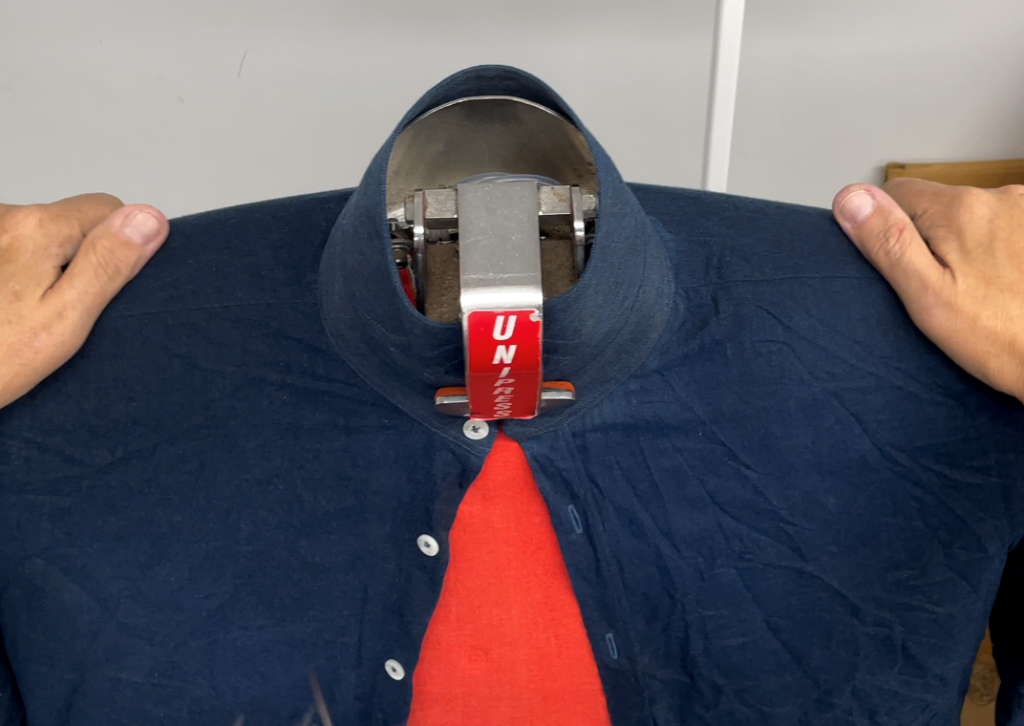
In the photo above, notice the very slight ripple in the fabric to the right of my right hand. If I pulled on the fabric, even just a tiny bit, that would result in a pressed in wrinkle. (READ: touchup)
En la foto de arriba, observe la ligera ondulación en la tela a la derecha de mi mano derecha. Si tiraba de la tela, aunque fuera un poco, eso resultaría en una arruga presionada. (LEA: retoque)
Back in the old days, the idea was to dress a body buck with a shirt, clamp the collar and (with a tail clamp) hold the shirt front in place while the shirt had an inverted “V” shape in front. Ajax shirt presses were popular for their inherent simplicity in dressing the buck. Their sleeve press was the worst, but the body buck was easy as pie to dress. These days, the inverted “V” is bad. Don’t do it.
Everything that I am recommending her is interconnected. By rolling the shirt backwards and creating the rabbit hole, you are not able to clamp the collar closer to the button. This allows you to lay the front panels of the shirt parallel to each other, or close to it. This means that the sides of the shirts – even large ones – will be well pressed and no diagonal creases across the front
En los viejos tiempos, la idea era vestir un body buck con una camisa, sujetar el cuello y (con una abrazadera de cola) mantener la camisa delantera en su lugar mientras que la camisa tenía una forma de “V” invertida en el frente. Las prensas de camisas del Ajax eran populares por su simplicidad inherente para vestir el dinero. Su prensa de manga era la peor, pero el body buck era fácil de vestir. En estos días, la “V” invertida es mala. No lo hagas. Todo lo que le recomiendo está interconectado. Al enrollar la camisa hacia atrás y crear la madriguera del conejo, no puede sujetar el cuello más cerca del botón. Esto le permite colocar los paneles frontales de la camisa paralelos entre sí, o cerca de ella. Esto significa que los lados de las camisas, incluso los grandes, estarán bien presionados y no habrá pliegues diagonales en la parte delantera.

I hope that this was helpful. Remember, these pointers are applicable for any model Unipress, Sankosha or Forenta shirt unit as well as any other hot air unit such as Hi-Steam or PONY.

Donald Desrosiers
Don Desrosiers has been in the laundry and drycleaning industry for over 30 years. As a management consultant, work-flow systems engineer and efficiency expert, he has created the highly acclaimed Tailwind Shirt System, the Tailwind System for Drycleaning and Firestorm for Restoration. He owns and operates Tailwind Systems, a management consulting and work-flow engineering firm. Desrosiers is a monthly columnist for The National Clothesline, Korean Cleaners Monthly, The Golomb Group Newsletter and Australia's The National Drycleaner and Launderer. He is the 2001 winner of IFI's Commitment to Professionalism Award. He has a website at www.tailwindsystems.com and can be reached at tailwindsystems@charter.net or my telephone at 508.965.3163

