Many dry cleaners find themselves scrambling at the end of the day trying to finish or find all of the work that is due to be picked up. Your system of tagging, cleaning, finishing, or assembly can have a direct effect on whether you finish on time. Therefore, every effort should be made to use a system that promotes the most productivity for you.
Marking/Tagging
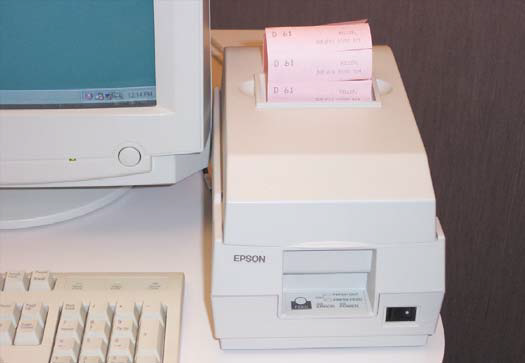
One of the goals of a dry cleaner is to return customers’ original clothing to them. This would be a difficult task without some sort of identification system. Therefore, tagging the garment has become the method used by dry cleaners to keep track of the many items they receive. You also may hear some cleaners refer to this tagging system as “marking.” Items need to be separated into loads of similar colors and fabric types before cleaning. Since it will usually be necessary to combine clothing from several different customers to obtain full loads, an identification system is the only way to keep track of the garments.
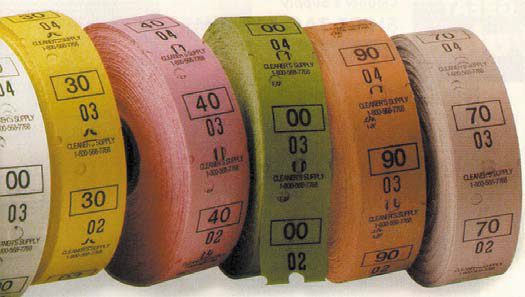
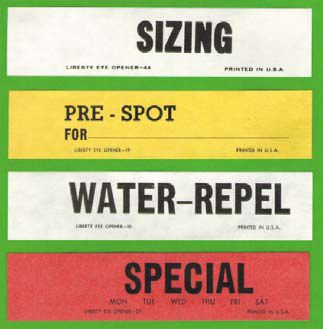
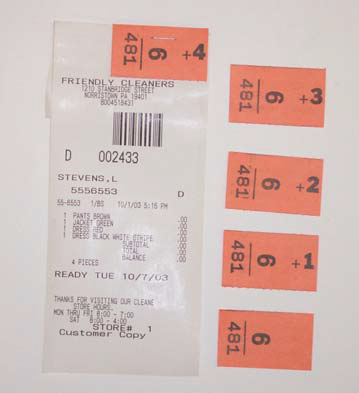
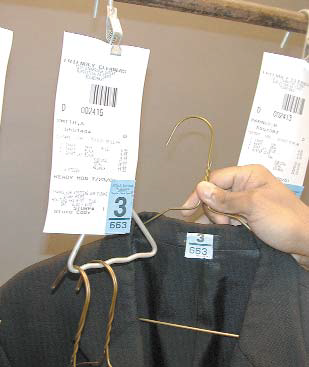
Identifying the customer’s clothing is usually achieved by attaching a paper or cloth tag to every garment received. Various methods are used to attach the tags such as safety pins, adhesives, staples, or guns that use plastic swift tacks. The tags can be purchased in strips, on rolls, generated from computers, or come already attached to your invoices. A larger “flag tag” is used to give additional information when extra or special services are required.
Regardless of the type of tagging system you are using, the principles are all the same. You have a control number or code on the invoice. A corresponding number/code is then placed on each of the garments in the order. No matter where a garment is in the store, you know which customer it belongs to by the number attached to it.
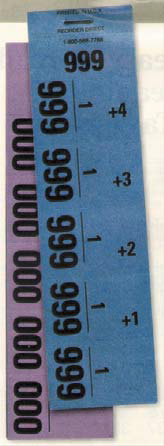
The most common identification system used by dry cleaners is the strip tag.
Strip tags will not only give an identification number, but also provide a count of the number of pieces in the order. For example, a customer has an order with four garments in it. You would select a strip of tags and attach the tag marked “4” to the invoice. You have four remaining tags that will be fastened to each of the four garments in the order. The tag on the invoice is used as the control number. After the clothes have been cleaned and pressed, the four pieces are assembled back together.
The tagging/marking station is the location where most plants check the pockets for debris, ink pens, lipstick, or any other object that was left behind by the customer. Any item left in the pockets can cause serious damage to the entire load.
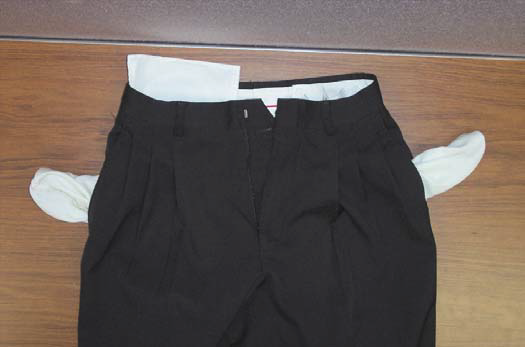
When checking the pockets in coats, also feel and pat the linings. Damaging articles can fall through holes in the pocket lining and go unnoticed. Many cleaning plants have adopted the policy of pulling the pockets out of garments to be certain they are empty.
Where to Put the Tags?
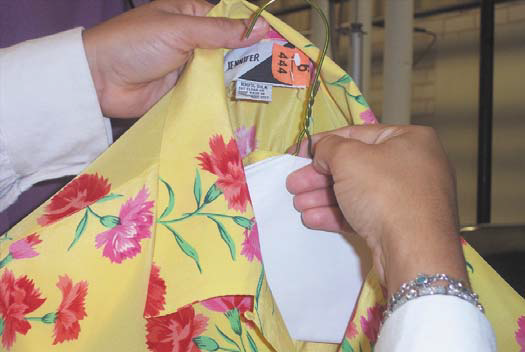
Where the tags are placed on garments can be as important as the tags themselves. Often the person marking garments puts the tags in locations that can hinder the production flow. Identification tags should be put in places where they can be easily found and read.
Placing the tags on the care label covers up the cleaning instructions. If the dry cleaner needs to see the recommended care method, he or she would have to remove the tag. Once the care instructions are noted, the identification tag would then have to be reattached to the garment. Removing and replacing tags requires extra time that many cleaners can’t afford to lose.
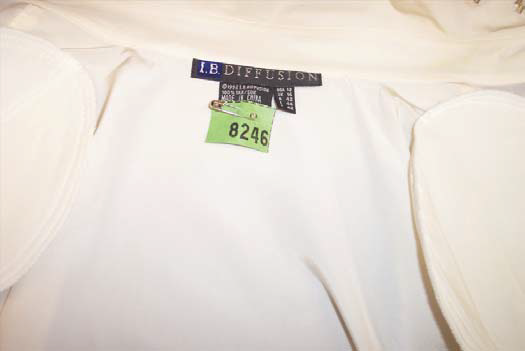
Tagging on the care label can also cause trouble in the assembly area because many care instructions are located on the neck of the garment. After finishing, some garments are hung on paper covered “caped” hangers. The paper not only covers the hanger but also hides the identification tag from sight. This forces you to remove every item on a caped hanger from the assembly rail to read its tag.
Garments should be tagged in a spot where the tag can be easily seen and preferably in a manner that does not leave noticeable damage such as pinholes. Tagging on garment seams will prevent or hide much of this damage. Some possible locations are:
PANTS
- Zipper flap
- Belt loop
- Waistband
COATS
- Sleeves
- Neck loop
- Inner breast pocket
DRESSES/BLOUSES
- Sleeves
- Brand name label (if on side seam)
- Inside side seam
- Bottom hem
SKIRTS
- Waistband
- Bottom hem
If you are using staples to attach tags, avoid stapling directly through the fabric. When possible, staple the tag to itself or through one of the cloth labels in the garment. Some manufacturers place paper labels in their garments. Paper labels can tear during the cleaning process and leave you with an unmarked garment. A paper label may also tear when the customer removes the tag before wearing.
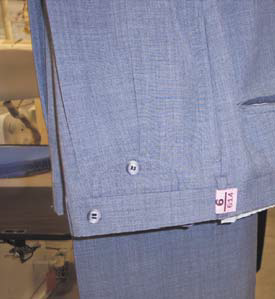
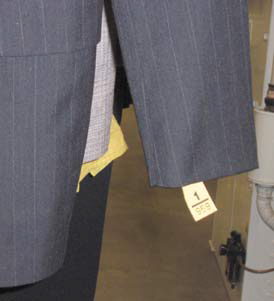
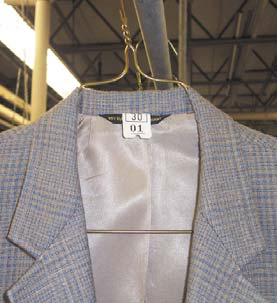
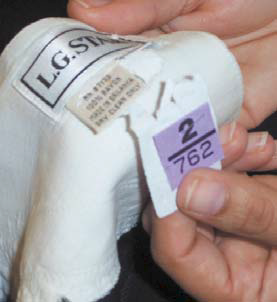
There are several other places where tags can go, but you will have to decide where the most effective place is for your operation. No matter where you tag garments, the system should be carefully explained and easily understood by all personnel.
Lot Systems
Tagging items will do more than just identify the garment. Colored tags are often used to identify the type of service requested and to establish an order for processing the work. The garments are separated by their tag color into groups called lots. By processing clothing in separate lots, garments can be systematically moved throughout the plant so all orders are ready on schedule. Three types of lot systems are commonly used.
Day Lot System
With a day lot system, all the items received in a single day are given a marking tag of the same color. On the following day the identifying color is changed, and so on for each day in the week. Ordinarily, six colors are used and these are repeated, in the same sequence, week after week. This color is used to determine the ready date of the order. For instance, all items marked with a green tag are due on Wednesday. The ones marked with orange tags are due on Thursday and so on. In a day lot system, all of the day’s work is processed at the same time. This system works well for small volume plants, but on busy days the lots can become very large. The problem with big lots is you end up with more clothes in your assembly department than it can handle. This causes a bottleneck until the assembly department can catch up.
Half-day Lot System
A half-day lot system works much like the day lot system. The difference is that when the volume of work increases more than normal in a single day, the identifying tag color is changed or a new sequence of tag numbers is selected. This breaks the day’s work into two smaller groups. The first lot can be processed as a whole and then the second group will follow.
Controlled Lot System
The controlled lot is probably the most effective way of moving work through the plant. In a controlled lot system, a specific size is established for each lot. The lot size is usually measured by the number of invoices or pieces in it. The size of your assembly area will play a large role in determining the size of your lots. Once the designated size is reached the lot is complete and a new sequence of tag numbers or a new color of tags is selected. Let’s say you’ve established lots of 100 pieces and the color of tags used is blue. Keep in mind that it is acceptable to go over or under 100 pieces by a small amount. In fact, going over or under may be necessary to keep a customer’s entire order together. When you tag your 100th item the lot is finished and a new lot can begin with different color tags—say, brown. Those who use a number system instead of color can tag their first 100-piece lot with tags numbered 0–99 and begin their second lot with tags numbered 100–199 and so forth. An advantage of the controlled lot system over other systems is now the assembly department can check out all lots regardless of the fluctuation in volume in an assembly area that remains fixed in size. When the volume is high, there will be more lots than when the volume is low. However, the size of the lot at any volume level will remain relatively the same. It is much more difficult to process 700 pieces at one time than it is to process seven smaller groups of 100 pieces each.
Finishing
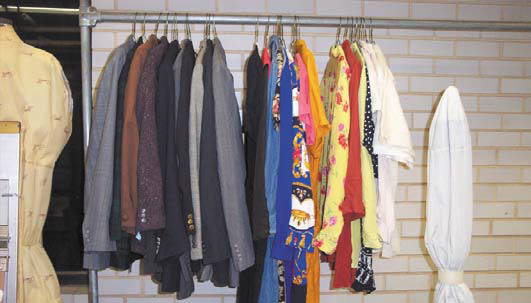
For the sake of maintaining production, it may be necessary to clean different lots together, but the lots must be separated again when they get to the finishing stations. Whenever possible, the finishers should press all pieces of one lot before moving on to the next one. When the lot reaches the assembly department, it will quickly be completed with the exception of a few stragglers.
A helpful tip to increase the rate of pressing is to set the garments up at the press in groups of similar items. Put all the suit coats together, all the skirts together, and all of the hard finish cotton and linen together, and so forth. Your finishers will be able to establish a much steadier rhythm this way.
Inspection
In a perfect world every stain would come out, every wrinkle would be removed, and all garments would radiate quality. Since we know this is not happening, a thorough inspection is needed. Inspection is the point where items are given a final check for quality. But in order for this check-off system to work, the person inspecting must clearly understand the quality standards of your plant. Finishers sometimes see the garments they press as an extension of themselves. They can often be offended when garments are returned to them. The inspector should be critical, yet tactful and able to return garments without starting an altercation. Ultimately, it is management’s job to make all employees aware that everyone has an important role in maintaining quality and workflow.
Getting the Job Done
Even the best thought out tagging and workflow system can fall apart if you are missing the key factor—training. Training is one of the most important principles necessary for running a successful operation, but it is also one of the most overlooked. It happens time and time again—new people are hired, they are quickly shown the procedures, and then, left to their own devices, they pick up every bad habit imaginable. Developing a training program that gives new employees enough time to fully understand the procedures is the remedy for the “bad habits” affliction. Conversely, rushing through the training process will only slow you down somewhere else.
This article is from Industry Focus, No.4, November 2003 from DLI.


